
A quick guide on how embedded surveys work, how to create elements and how to embed targeted surveys
The survey is embedded by the Extellio script that runs on the website. It will be placed in the container or element specified so you're in control of where it will be shown.

Depending on how your website is built, the process of creating the container or element can differ a bit. In some web builders you can drag and drop elements, in others, you have to create the container or element yourself by writing HTML.
The easiest way to do it with HTML is to create a new <div> tag.
<div id="extellio-targeted-survey"> </div>
( just means non-breaking space)
We recommend using a specific and explanatory ID or class for the container, like extellio-targeted-survey, so you know what the container is used for.
You then set the properties (like height or width) of the element with CSS. Most easily you add it through inline or internal CSS.
Inline CSS
<div id="extellio-targeted-survey" style="width:100%;"> </div>
This example creates an element that covers the entire width of the body of the page. You can set the survey's size later in the platform.
Internal CSS
<style>
#extellio-targeted-survey{
  height: 200px; /*this sets the height of the element*/
  width: 80%; /*this sets the width of the element in relation to the page*/
  margin: auto; /*this centers the element*/
}
</style>
The survey will only be shown in the container, so you can place the container on multiple pages, as long as it has the same ID or class.
Next, you go into the settings for the survey, then under "Behavior", you'll find the option to embed the survey.

In the target container field enter the CSS selector for your container. Use # for the ID or . if you use the element's class.
Once the survey is published and live, the script will place the survey (as an iframe) on top of the element.
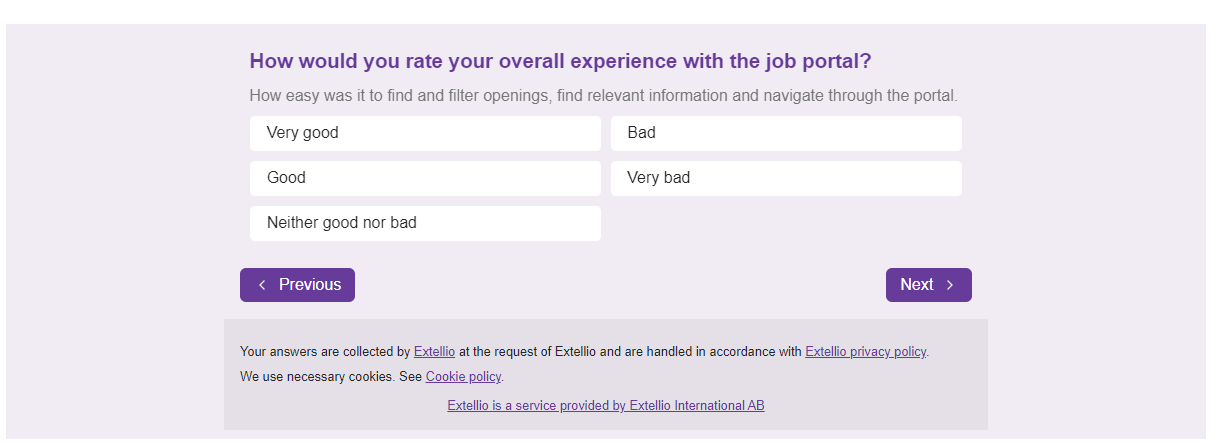
Want to see how an embedded survey looks in the wild? Check it out here.